
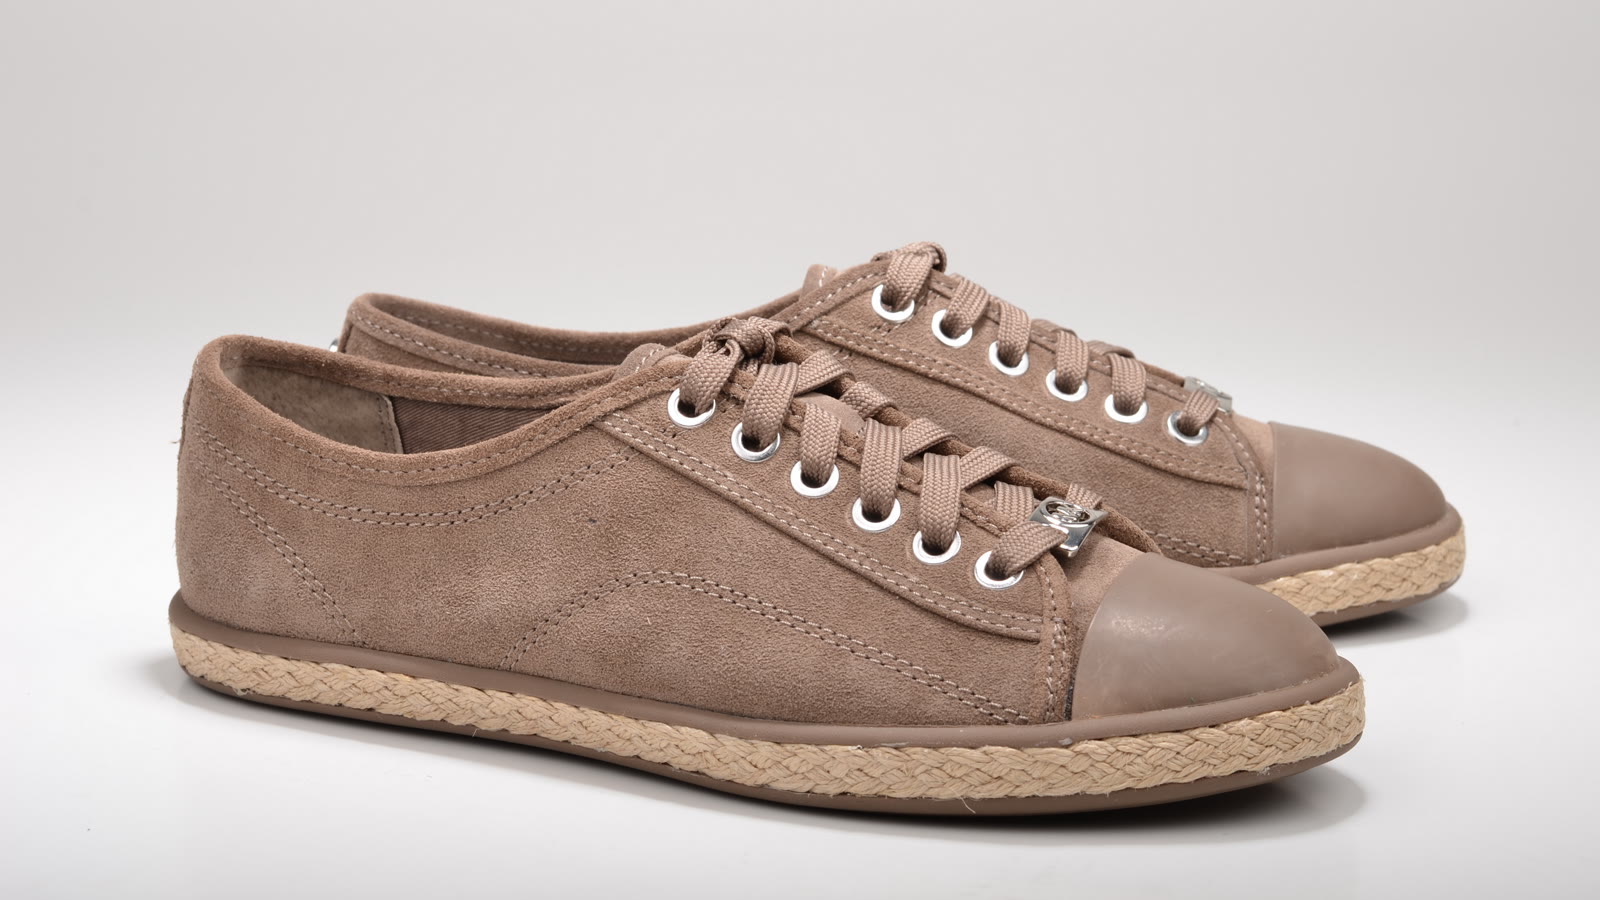
You already have product photos for your online store, but creating videos for TikTok, Instagram Reels, or product pages feels like another job. You need a camera, lighting, editing software, and time to put everything together.
AI video tools offer another option. You can start with an existing product photo and turn it into a short video with camera movement, changing light, or subtle animation. This is especially useful for sellers who want more visual content without arranging a new photo or video shoot for every product.
In this guide, you'll learn how to turn product photos into videos with AI, which tools to try, and how to write prompts that make your products look appealing without changing their actual appearance.
Which AI Tool Should You Use for Product Photos?
The best tool depends on the type of video you want to make.
- Photoroom: A practical starting point for ecommerce sellers who want product-focused templates and a workflow built around product images.
- Seedance: Worth trying when you want more cinematic image-to-video effects, such as a slow camera move, dramatic lighting, or subtle environmental motion.
- CapCut: Useful for assembling several product clips, adding promotional text, including music, and creating a finished social media video.
If you only have one product photo and want to animate it directly, start with an AI image-to-video generator. If you have several photos and mainly want a promotional slideshow, a video editor such as CapCut may be enough.
Tool features, available models, and pricing can change, so check the current plan before starting a project.
How to Turn Product Photos into Videos with AI
Step 1: Choose a Clear Product Photo
Start with the best product image you already have. It doesn't need to be professionally shot, but the product should be easy to recognize.
Look for a photo with:
- Sharp details and accurate colors
- Good lighting without excessive glare
- A clearly visible product shape
- Enough space around the product for camera movement
- No important details cropped out of the frame
A skincare bottle against a simple background, for example, is a good starting point. The AI can introduce a gentle camera push-in or a soft reflection without needing to invent an entirely new scene.
Avoid blurry photos, heavily filtered images, and pictures where the product is partly hidden. These give the model less reliable visual information to work with.
Step 2: Upload the Photo to an AI Video Generator
Open your chosen tool and look for an image-to-video or product video generation feature. Upload your product photo and select the image as the starting frame.
Some tools provide ready-made templates, while others let you describe the desired movement in a text prompt.
For a first attempt, keep the video short and the scene simple. A five-second test clip is usually enough to see whether the product remains recognizable and the movement looks natural.
If your tool offers aspect ratio settings, choose the format before generating. Vertical video works well for TikTok and Instagram Reels, while square or landscape formats may suit product listings and website pages better.
Step 3: Describe the Movement You Want
This is where your product photo becomes a video. Instead of describing the entire product again, focus on what should move and what must remain unchanged.
Here are three prompts you can copy and adapt.
Use one main movement per generation. Asking the AI to rotate a product, change its background, add flying particles, and create dramatic camera movement all at once makes the result harder to control.
Step 4: Generate and Check the Video
Generate your first version and watch the entire clip, not just the opening frame.
Pay attention to the details that matter to buyers:
- Does the product keep its original shape?
- Are the logo and packaging still recognizable?
- Do the colors remain consistent?
- Does the camera movement look smooth?
- Does anything suddenly appear, disappear, or change?
AI-generated video can distort small text, logos, product edges, and intricate details. A bottle might look convincing at first but develop an unusual cap halfway through the clip.
If that happens, simplify your prompt. Ask for a slower camera movement and explicitly state which details must remain unchanged. Generate another version rather than trying to fix every problem in one complicated prompt.
For products where exact appearance matters, compare the result against the original photo before publishing.
Step 5: Add Text and Finish the Video
Once you have a usable clip, bring it into a video editor if you need a more polished result.
Add a short product name, one clear benefit, a price, or a call to action. Keep text readable and avoid covering the product itself. If you need an exact logo, price, or product specification, add it in the editor rather than relying on the AI to reproduce it correctly.
You can also combine two or three short clips to show different product angles or features.
For example, a simple promotional video might follow this sequence:
- Open with a close-up of the product.
- Show its material, texture, or key design feature.
- Finish with the product name and a short call to action.
You don't need a complicated storyline. A clean, focused video often makes more sense for a product listing than a dramatic scene that distracts from what you're selling.
Tips for Better AI Product Videos
Keep the product as the main subject. The purpose is to showcase the item, not create a completely different scene.
Use realistic movement. Slow camera pushes, gentle pans, and subtle lighting changes are often easier to control than fast rotations or complex interactions.
Don't invent product claims. If you're selling a real item, avoid generated footage that suggests features, ingredients, dimensions, or functions the product doesn't actually have.
Test different versions. Try two or three prompts with different camera movements while keeping the source photo the same. This makes it easier to compare results.
Choose the right format for the destination. A vertical social video and a landscape product-page video may need different framing. Make sure the product isn't cropped awkwardly.
Can You Turn Multiple Product Photos into One Video?
Yes. There are two common approaches.
The first is to animate each photo separately with an image-to-video generator, then combine the clips in a video editor. This works well when you want cinematic movement around individual product shots.
The second is to arrange several photos in a slideshow with transitions, music, and text. This is often easier when you have a complete product catalog or want to show different colors, sizes, or product details.
If you need the product to remain accurate, check each generated clip individually before combining them. Different photos of the same item may produce slightly different packaging or proportions.
Start Turning Your Product Photos into Videos
You don't need to film every product from scratch. A clear product photo, a simple motion prompt, and a few rounds of checking can be enough to create a short video for your store or social media account.
Start with one product and one visual idea. Once you find a style that works, you can reuse the same workflow for other products and create a more consistent collection of video content.